| While Twitter is transitioning to the new name for the platform, "X", a large part of its own documentation still uses the name "Twitter". In this document, we are trying to keep up with changes and have changed the name to X where possible in our codebase. However, the twitter functionality and documentation may change and in some cases differ in use of the name even in URLs and code. |
Getting started
With push.delivery you are able to publish your notification as Twitter message.
We provide 2 options for connect to Twitter.
-
Easy to use push.delivery Twitter connector (you are ready in 1 minute)
-
Your custom Twitter app connection
Easy to use push.delivery Twitter connector
-
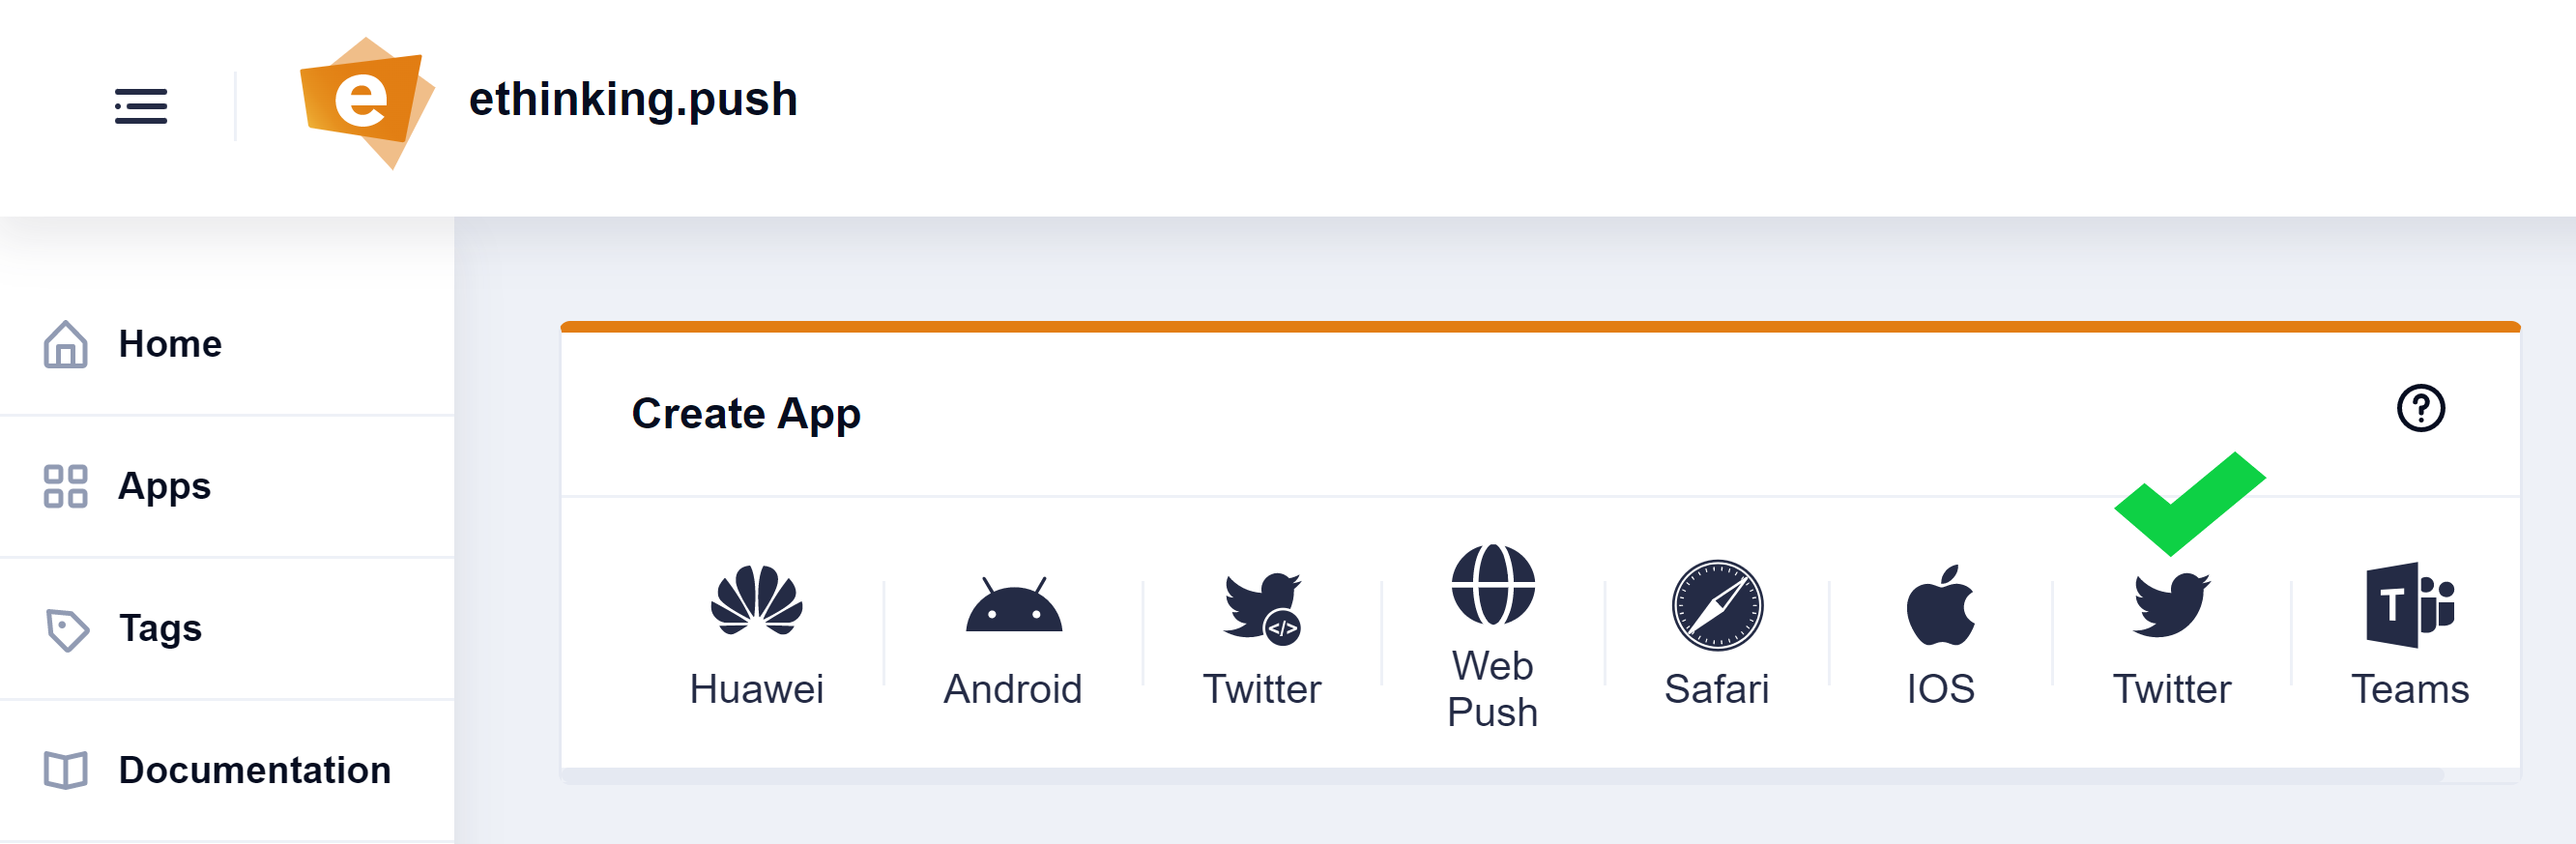
Inside the app overview page just select a new Twitter app
-
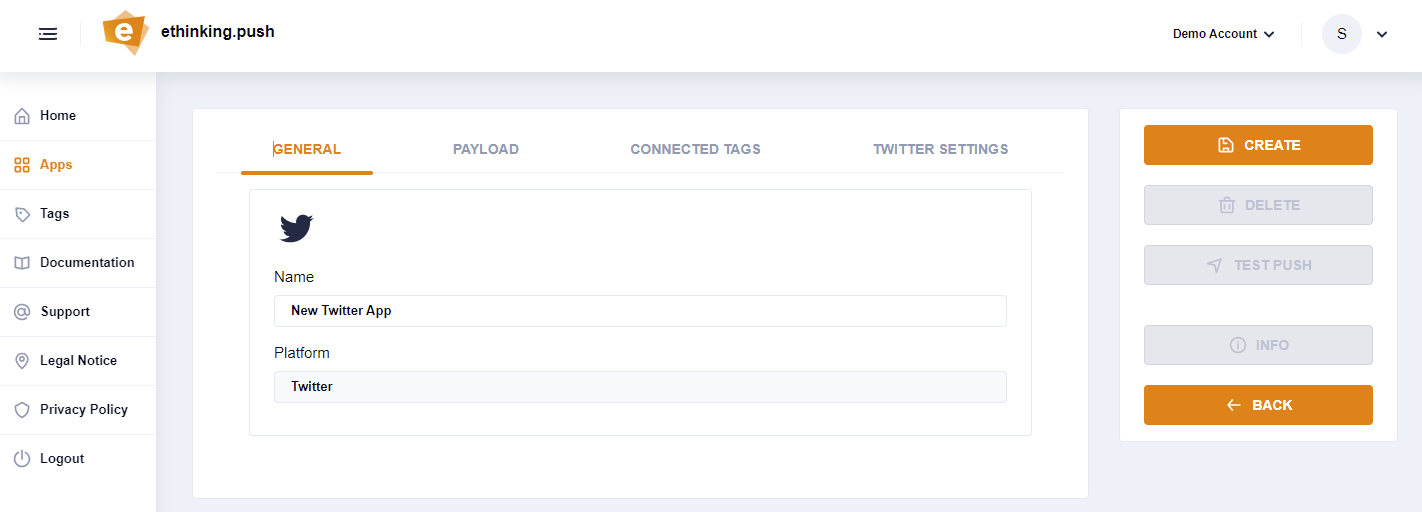
Name your app
-
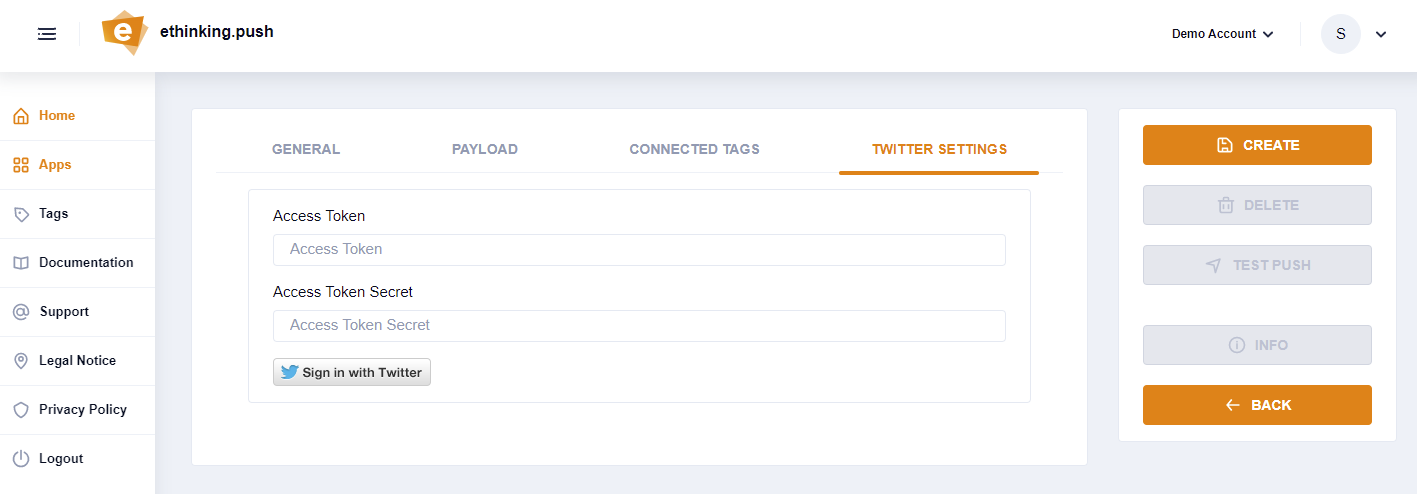
Switch to the Twitter Settings and click on "sign up" with Twitter-Button.
-
Follow the Twitter dialog and grant the push.delivery connector access to your Twitter profile for publish the notifications to your Twitter timeline..

Now your are done with Twitter connector setup and you only need to connect tags to your app for channel/message targeting.
Custom Twitter app (Advanced)
Prerequisite
-
A twitter developer app
-
setup for oauth2 public client
-
following callback urls in App info: https://staging-console.push.delivery, https://console.push.delivery, http://localhost:4200
-
-
A user who has access to app


Setup
-
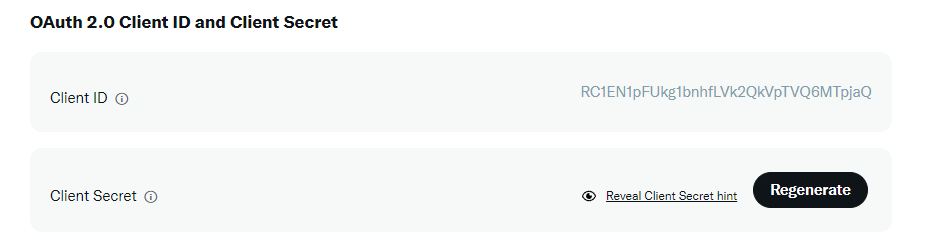
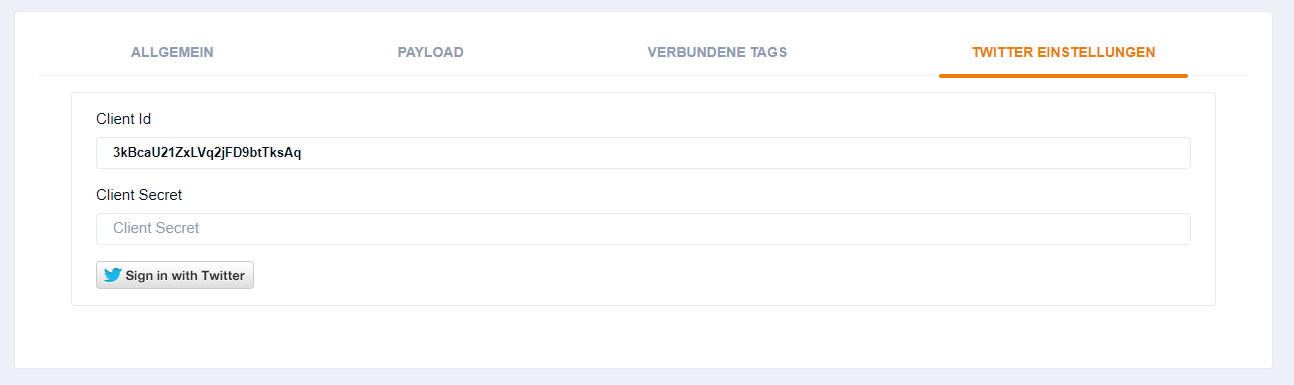
Add a twitter app with Client Id and Client Secret fields into push console (can be found in twitter-dev console for the app)
-
Click on "Sign in with Twitter" -Button
-
After successfull login you will be redirected back to the app in the push console
-
Connect the push.delivery app with necessary tags
-
push.delivery app is now ready for sending pushes
Customize Payload
You can use this default template and modify it to your individual needs:
Default template:
[
  {
    "operation": "shift",
    "spec": {
      "message": "message",
      "url": "url"
    }
  }
]
Default payload before transformation:
{
  "message": "This is the default message",
  "url": "https://your-website/your-post"
}
Default payload after transformation:
{
  "message" : "This is the default message",
  "url" : "/web-service/sample-link"
}
| To learn more about how to create and modify JOLT templates please follow up in our developer documentation: push-templates |