Setup the Webpush library for UI Mode
Step 0 - Customize the UI
If you select the UI Mode ("Userinterface aktiv") in the Push Delivery Console, you will get severeal options for customization:
-
URL für Button "Einstellungen" → you can provide an URL for a custom button image. A default image is provided.
-
Logo URL → you can provide an URL for a custom logo. A default image is provided.
-
Schriftart → enter a font for the UI
-
Hintergrund Farbe → color for the background of the sidebar
-
Hintergrund Farbe Kopfbereich → color for the header of the sidebar
-
Primärfarbe → primary color for the UI (e.g. for borders, button backgrounds etc.) *linker Abstand für Button "Einstellungen" → left margin for the sidebar button
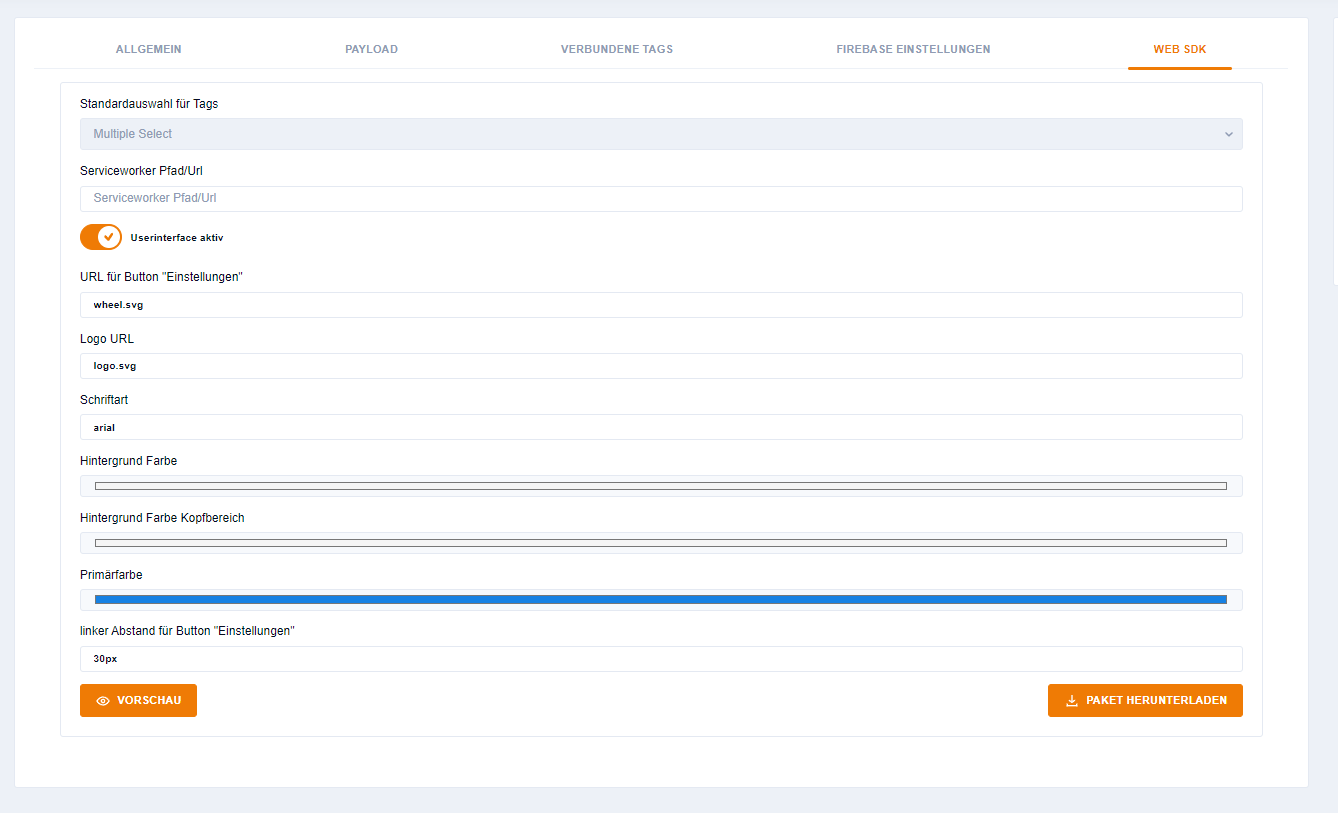
You can check your customization with the "Vorschau"(Preview)-Button.
Step 1 - Download the Library package
When you now click the "Paket herunterladen"-Button you will receive a zip-package with the webpush-folder containing all the files you need. The most important one is webpush.js: this is the startpoint connecting all the logic of the webpush-library.
Step 2 - Upload the files to your website
Extract the zip-package and place the webpush-folder on the top-level of your website (e.g. "www.mywebsite.de/webpush")
Step 3 - Place the embed code into your website
For implementing the Webpush, you need to place an embed code in the frontend of your website.
This is the default embed code:
<script src="Your path to the webpush library goes here"></script> (1)| 1 | This is the path to your uploaded "webpush.js" e.g. "www.mywebsite.de/webpush/webpush.js" |
Place the embed code into an area where it can be accessed with all page loads, e.g. the <head> area.
And that is it!
If you followed all these steps, your Webpush should work and with the next pageload your visitors can subscribe and you will be able to send Push messages to their browser.
Additional Customization of your Webpush UI
If the customization options in the Push Delivery Console aren’t enough for you, it is possible to customize some parts for your individual needs.
This can also be done in the embed code. Any changes inside that will override the part in the default configuration.
Customizations can be added at the end of the script and should be wrapped into the following snippet:
'ui': {

Your Customization snippets go here.

  };
Any styles will be applied by the CSS of your website. So if you want any different styling you can do this within your own CSS.
Customizing the modal
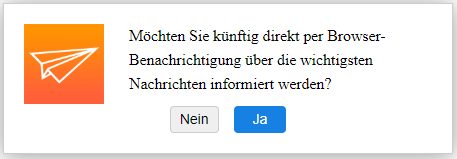
If you want to change the text inside the modal or the text within the buttons, the following snippet can be used:
'translations': {
      'de': {
          'askForPermissionsDialog': {
              'label_description': 'Your description goes here',
              'button_confirm': 'Your confirmation text goes here',
              'button_deny': 'Youre denial text goes here'
          },
The 'de' indicates that these changes will apply for the German language only. To find out more about language support and handling please follow up here.
Customizing the unblocking modal
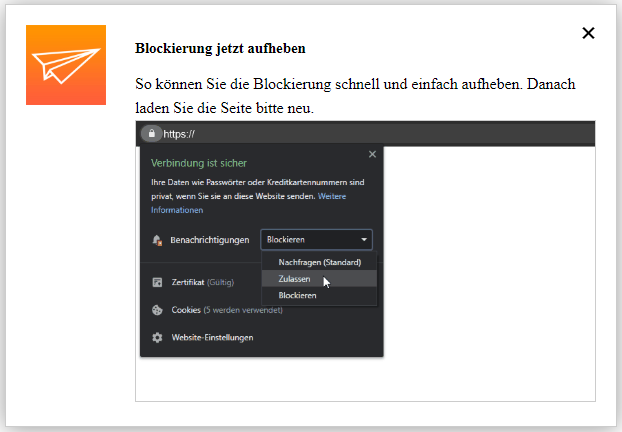
To change the texts and the GIFs inside the unblocking modal please use the following snippet (if you already inserted text changes as seen above you can directly begin the snippet from 'howToUnblockDialog'):
'translations': {
      'de': {
          'howToUnblockDialog': {
              'image': {
                  'chrome': 'https://push.delivery.ethinking.de/ethinking/gifs/unblock-chrome-italian.gif',
                  'firefox': 'https://push.delivery.ethinking.de/ethinking/gifs/unblock-FF-italian.gif'
              },
              'label_title': 'Your unblocking title goes here',
              'label_description': 'Your unblocking description goes here'
          },
      },
      },
Note that the Webpush library has an automatic recognition if the user has Chrome or Firefox browser. That is why the there is a field for 'chrome' and 'firefox'. As the animated GIFs are specifically made for these browsers we do not recommend to change these but however it is possible to do that if you want to replace them by your individual image or GIF.
Customizing the sidebar
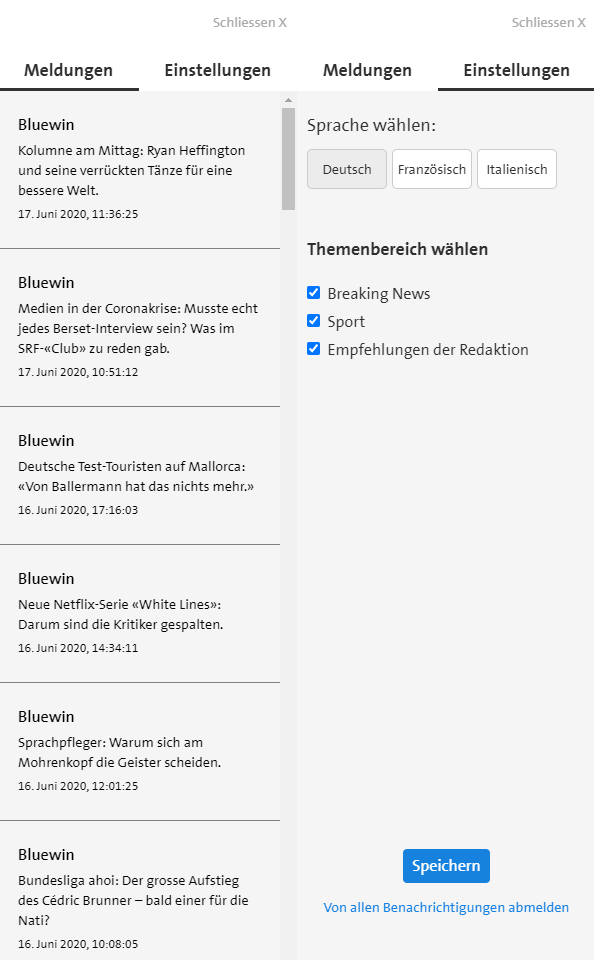
If you want to change the text inside the sidebar you can use this snippet (if you already inserted text changes as seen above you can directly begin the snippet from 'settings'):
'translations': {
            'de': {
                'settings': {
                    'label_subscribed': 'Your text for subscribed info goes here',
                    'label_blocked': 'Your text for unblocked status goes here',
                    'label_subscribe': 'Your text for subscribing goes here.'
                },
                'sidebar': {
                    'message_list_empty': 'Your text for empty archive goes here',

                    'tab_notification': 'Your title for message archiv goes here',
                    'tab_settings': 'Your title for settings goes here',

                    'label_language': 'Your text for language label goes here',
                    'label_description': 'Your text for label description goes here',
                    'label_tag_selection': 'Your text for tag selection goes here',

                    'button_unsubscribe': 'Your text for unsubscribing goes here',
                    'button_save': 'Your text for saving goes here',
                    'button_close': 'Your text for closing the sidebar goes here'
                },