Getting started
With push.delivery you are able to publish your notification as Twitter message.
We provide 2 options for connect to Twitter.
-
Easy to use push.delivery Twitter connector (you are ready in 1 minute)
-
Your custom Twitter app connection
Easy to use push.delivery Twitter connector
-
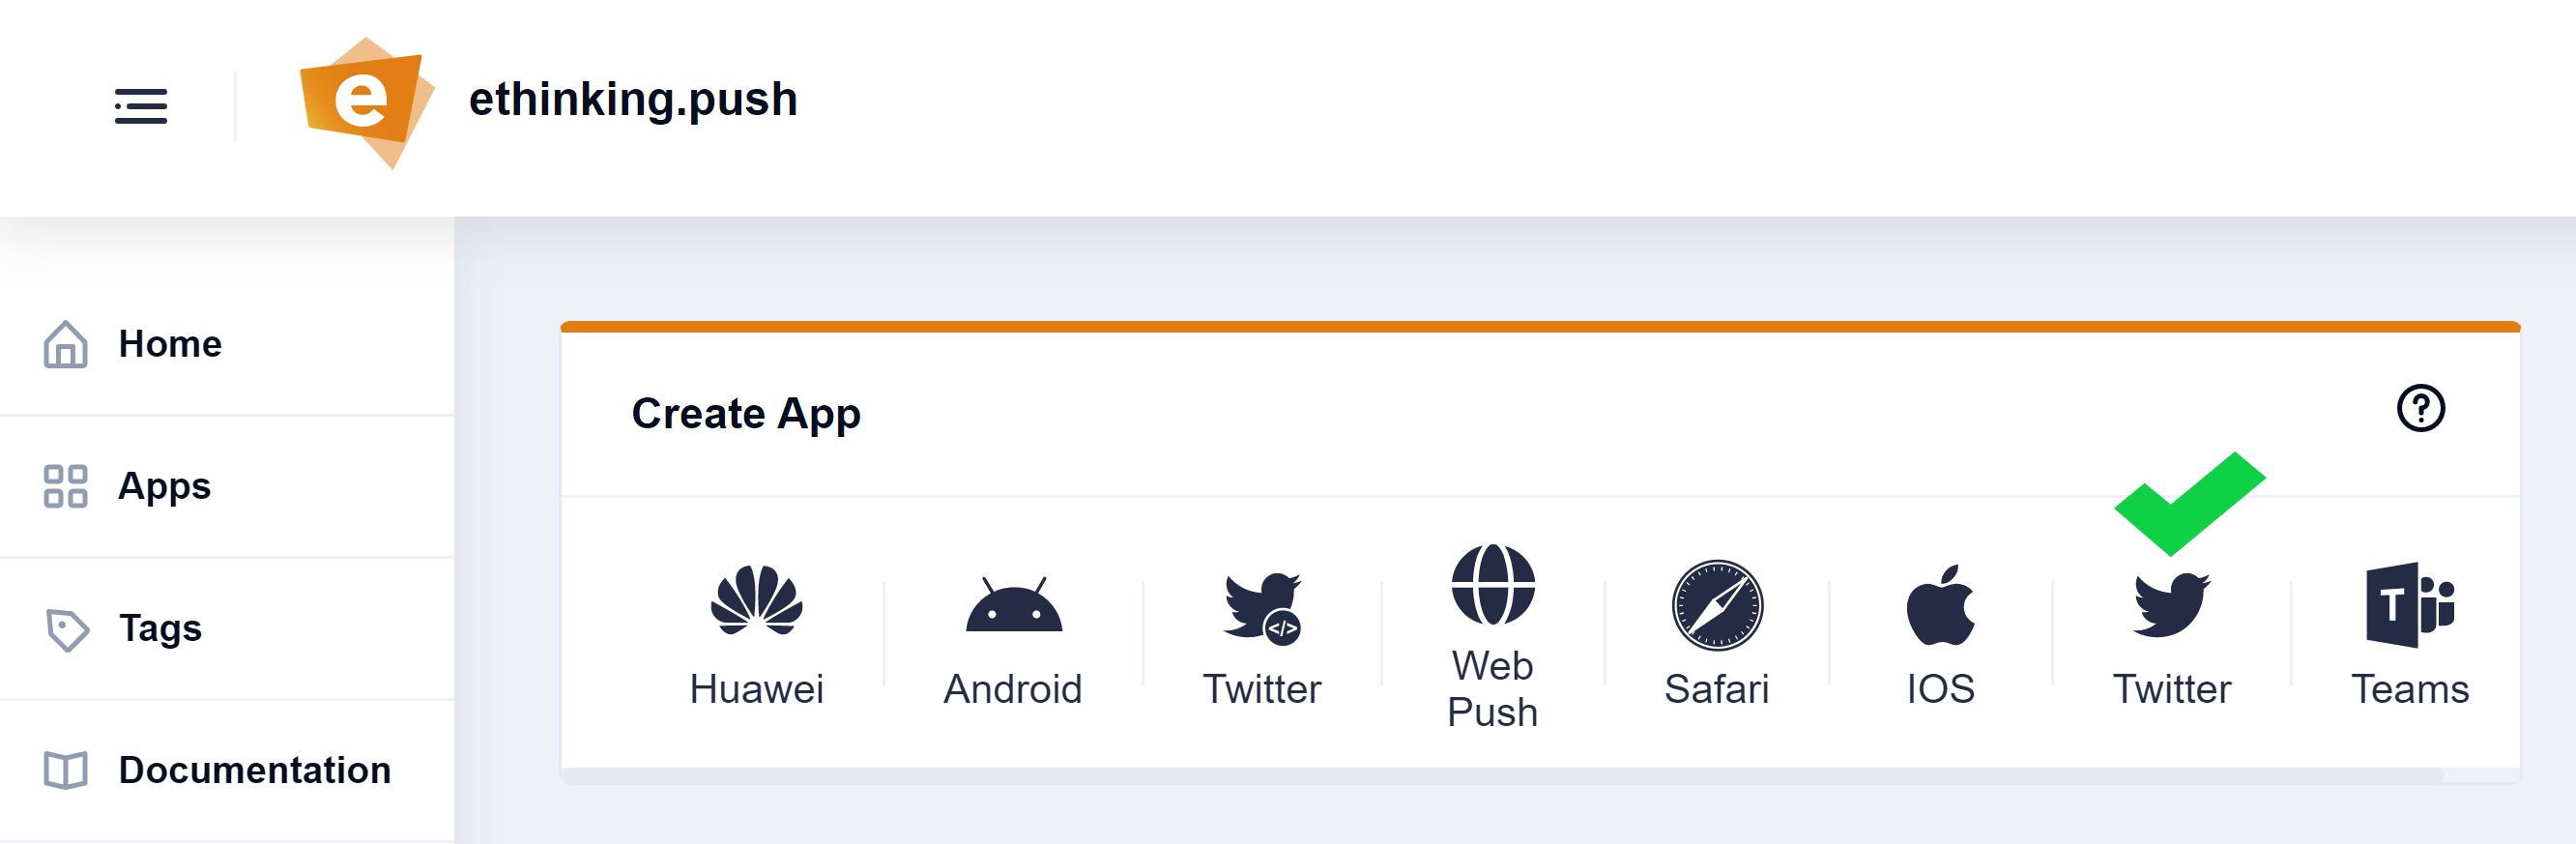
Inside the app overview page just select a new Twitter app
-
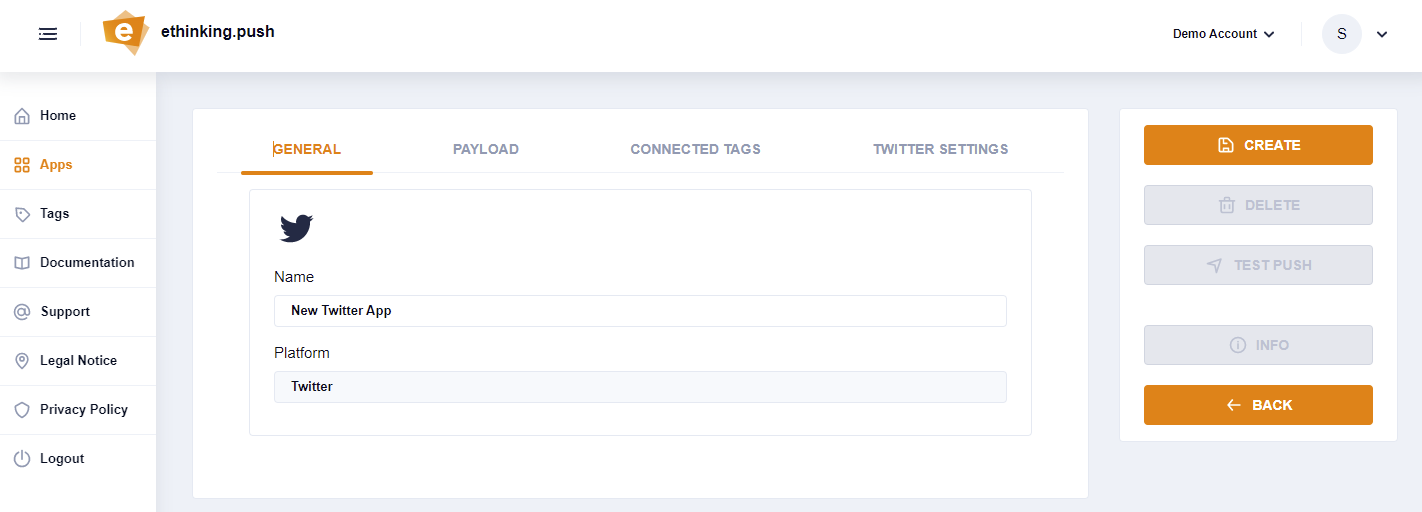
Name your app
-
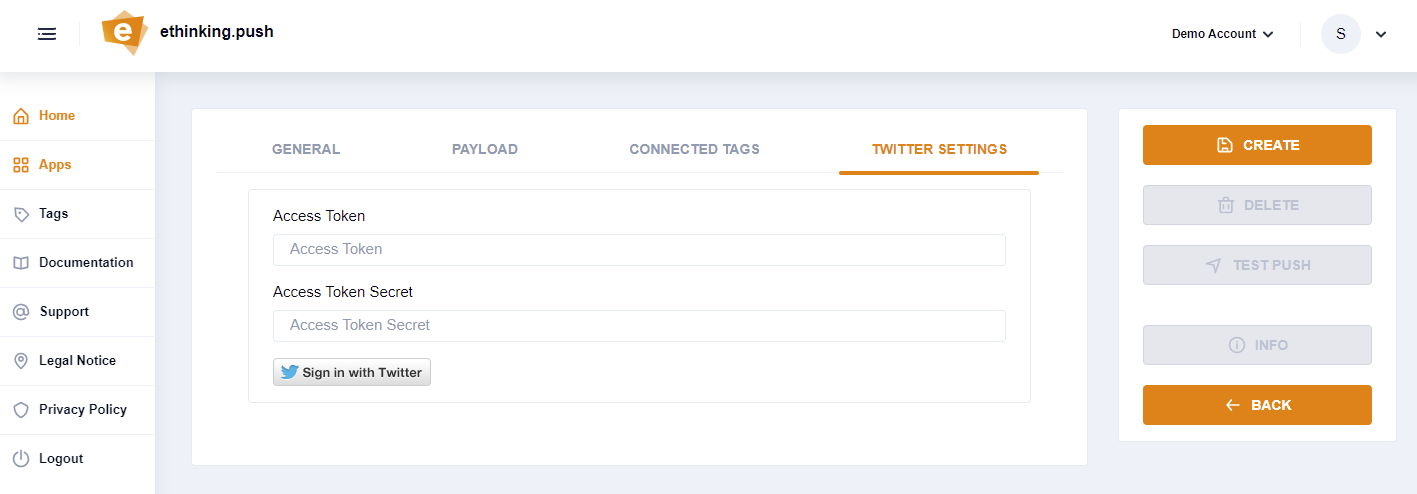
Switch to the Twitter Settings and click on "sign up" with Twitter-Button.
-
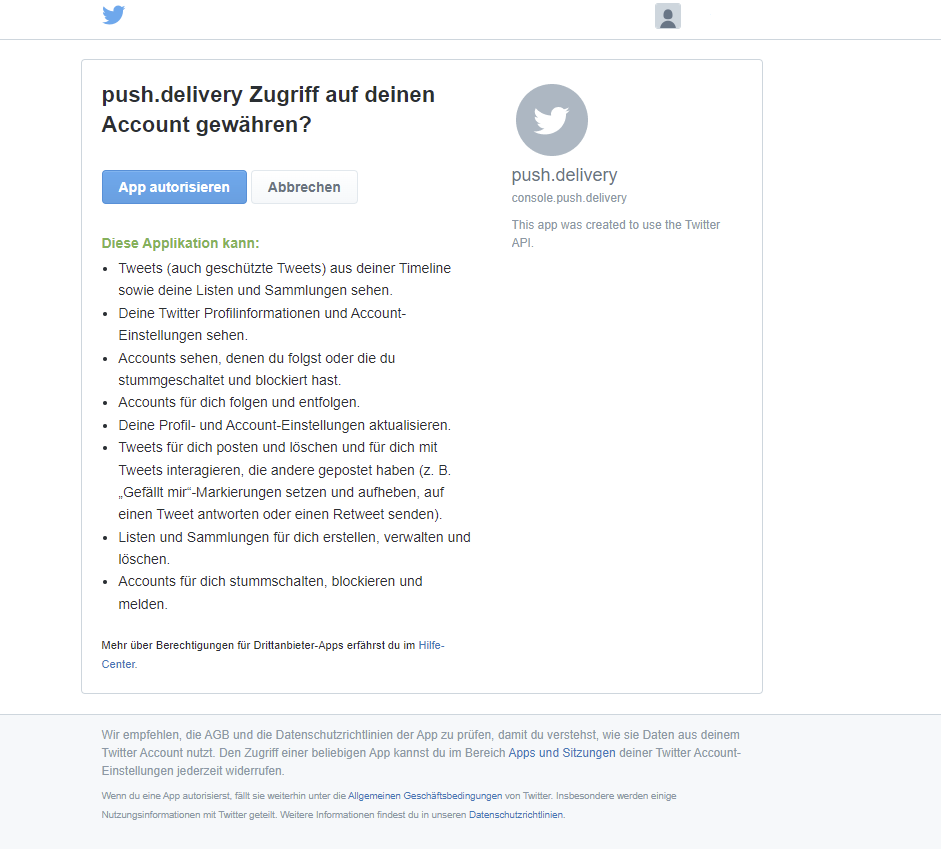
Follow the Twitter dialog and grant the push.delivery connector access to your Twitter profile for publish the notifications to your Twitter timeline..
Now your are done with Twitter connector setup and you only need to connect tags to your app for channel/message targeting.
Custom Twitter app (Advanced)
After setting up the App now it is time to create tags that users can register for. At least one Tag needs to be connected to the newly set-up Twitter-App.
Customize Payload
You can use this default template and modify it to your individual needs:
Default template:
[
  {
    "operation": "shift",
    "spec": {
      "message": "message",
      "url": "url"
    }
  }
]
Default payload before transformation:
{
  "message": "This is the default message",
  "url": "https://your-website/your-post"
}
Default payload after transformation:
{
  "message" : "This is the default message",
  "url" : "/web-service/sample-link"
}
Message Object:
Parameter |
Type |
Description |
Required |
Defaults |
Comments |
message |
String |
message text |
Required |
- |
|
url |
String |
A web URL |
Optional |
- |
Hypertext to be posted along with message |
| To learn more about how to create and modify JOLT templates please follow up in our developer documentation: push-templates |