Admin UI
Getting Started
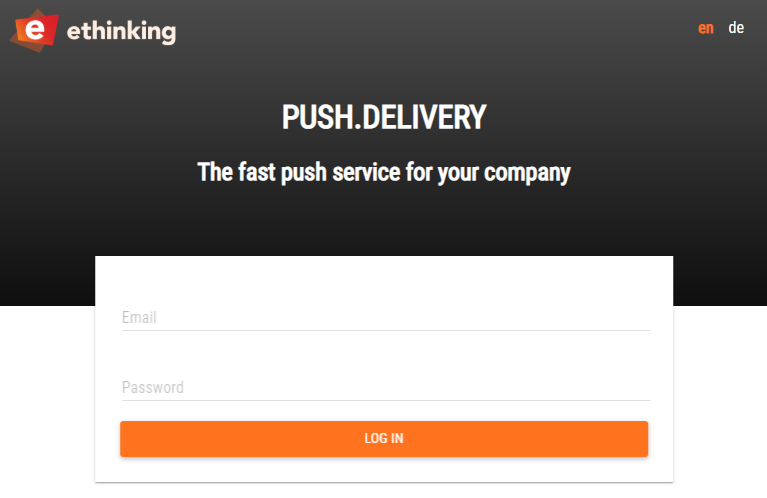
Every client will have access to an individual admin area. After the environment is set up for you, you will receive your login credentials and can start from there.
Overview
In the Push Admin area you can configure everything that is needed to use the push notification service.
After a successful login, you will be forwarded to the “Info Tab”.
Here you will get an easy overview about:
-
subscribed devices (total amount)
-
subscribed devices separately for every app
-
subscribed tags
-
group subscriptions
Also, your credentials for sending pushes will be displayed at the top of the page.
Channel/Apps
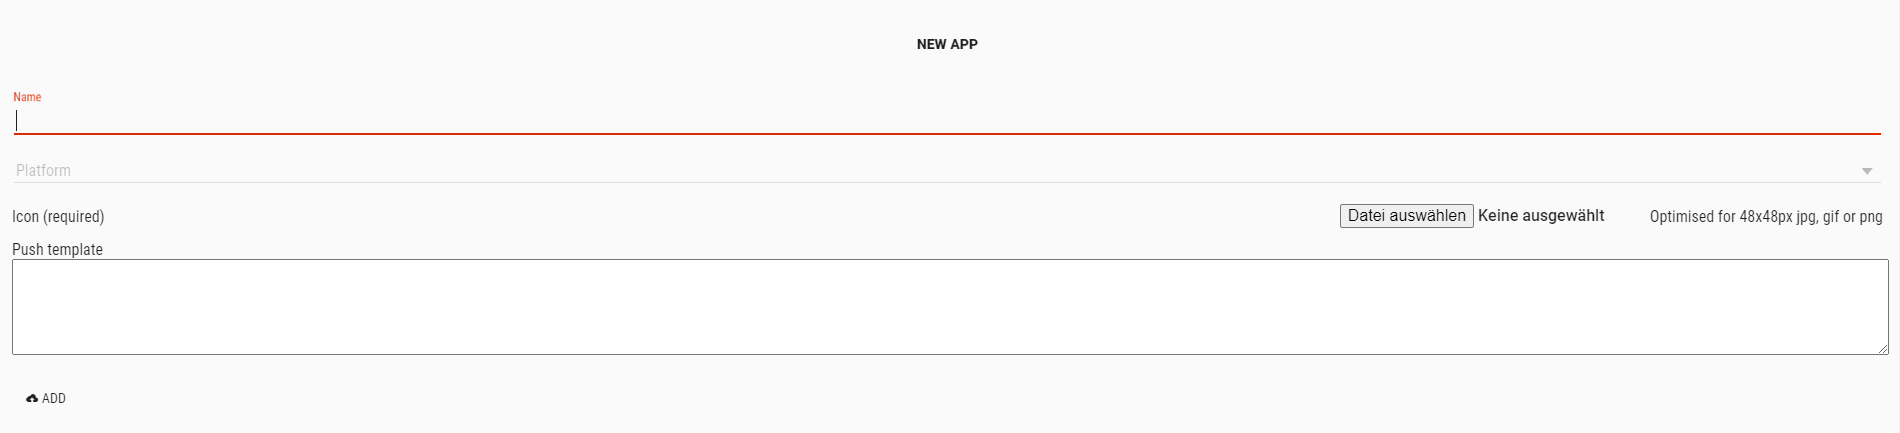
Apps are used to connect the push notification service to a platform, which makes it possible to send notifications to different communication channels.
Currently it is possible to send pushes to the following channels:
Tags
In this part we explain how to create tags or tag groups. The detailed information about tagging/targeting you will find in our tagging/targeting concept.
Create
To create a tag or a tag group, simply click on the add tag button, enter the tag or tag group name and an entry is added to your tag list.
After the manual creation of a tag you will see:
-
the tag ID
-
the amount of devices / users that are registered to this tag
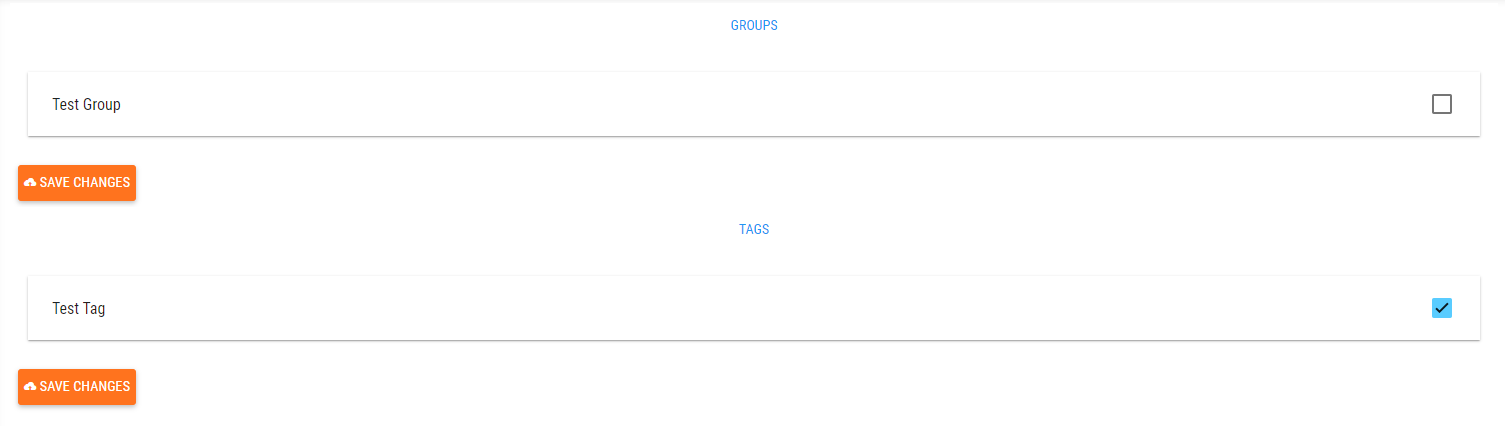
After the creation of a tag group, you can click into that group and create tags inside this group. Tag and tag groups behave like a tree structure of files.
Moreover, you can edit and delete tags and tag groups.
| Please note that you can also add, update and delete tags via the API. See the developer documentation for more info please. |
Now that you have successfully created a tag or a tag group, you need to connect the tag with an previously created App.

Push
If you do not send push notifications directly out of your CMS or with your own Push UI, you can use the "Push" section within the Push Admin.
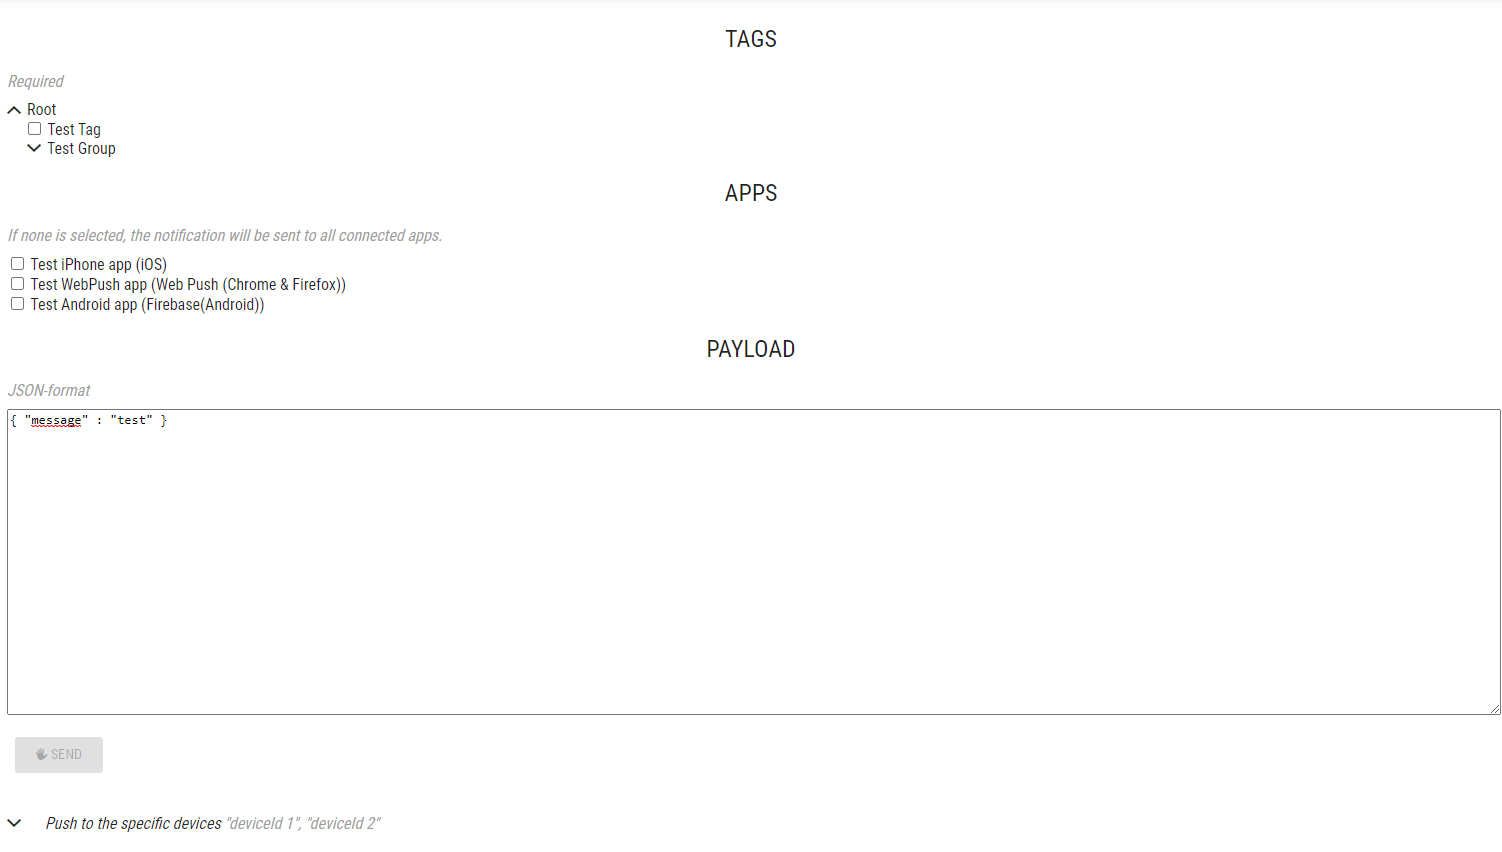
First you need to select the tag that you wish to send the push notification to.
Then you have to select your App that you want to send a push to. If you do not select any App, the push notification will be sent to all the Apps to which the tag is connected to.
Now you have to enter your information for the Webpush as JSON format. For every App the payload is different and can be indiviually changed based on our developed applications. Please follow up in the individual App descriptions below to learn more about the payload.
After you are finished, you can either send this push to all users that are subscribed to this tag or to a specific deviceId.
At this point everything is set up and you are ready to send your push notification!
After sending, you will receive an on page feedback about the status of your push.
Archive
If you want to get an overview about the pushes you send, you can go to the "Archive" tab.
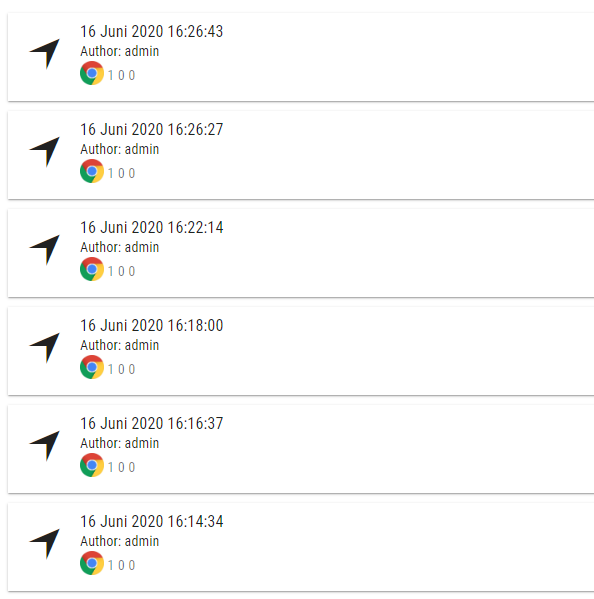
There you will find information about recent executed push notifications with a date, time and three digits:
-
The first digit indicates the number of successfully delivered pushes.
-
The second digit indicates the number of failed pushes.
-
The third digit indicates the number of pushes where feedback from the push provider (APNS or Firebase) has not been delivered in time. This does not indicate that the push has not been sent, but that the push provider have taken too long with the response and the connection has been closed from our side.
You can click on the entry to see more information.

The time in which your push message has been delivered to the push providers will be shown.
Additionally you can find information of the incoming Payload which was used for sending the message and the outgoing Payload which is used for displaying the push in the related App.