Safari
This section explains how to generate a valid certificate for Safari web push and how to configure it in admin UI.
Generate Safari web push certificate
-
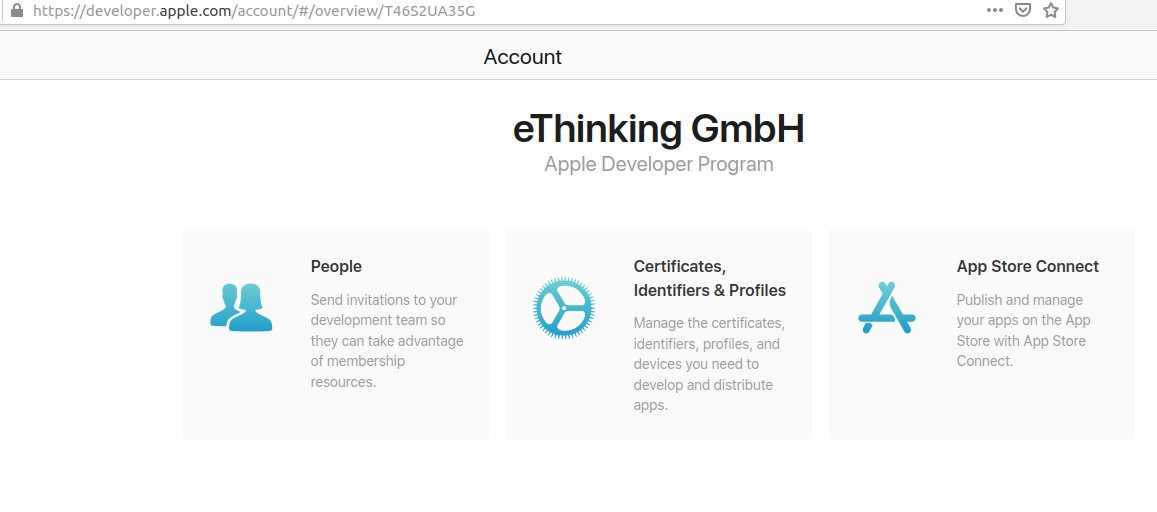
Log into your Apple Developer Console and select Certificates, Identifiers & Profiles.
-
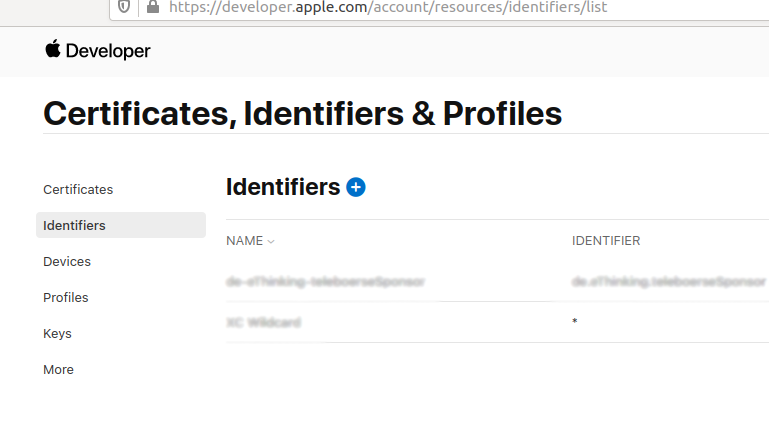
Select Identifiers from the menu on the left. Then select the + button.
-
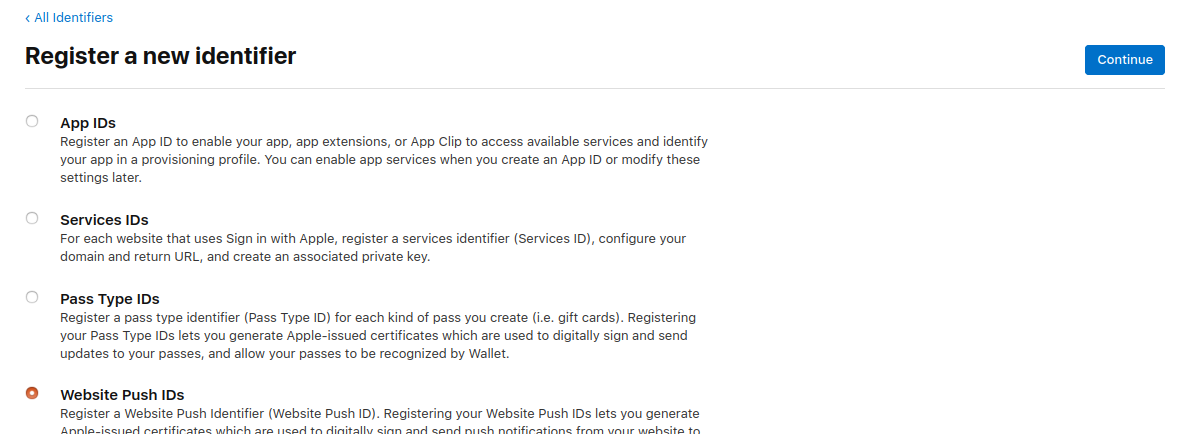
Select the Web Push IDs radio button. Then select the Continue button.
-
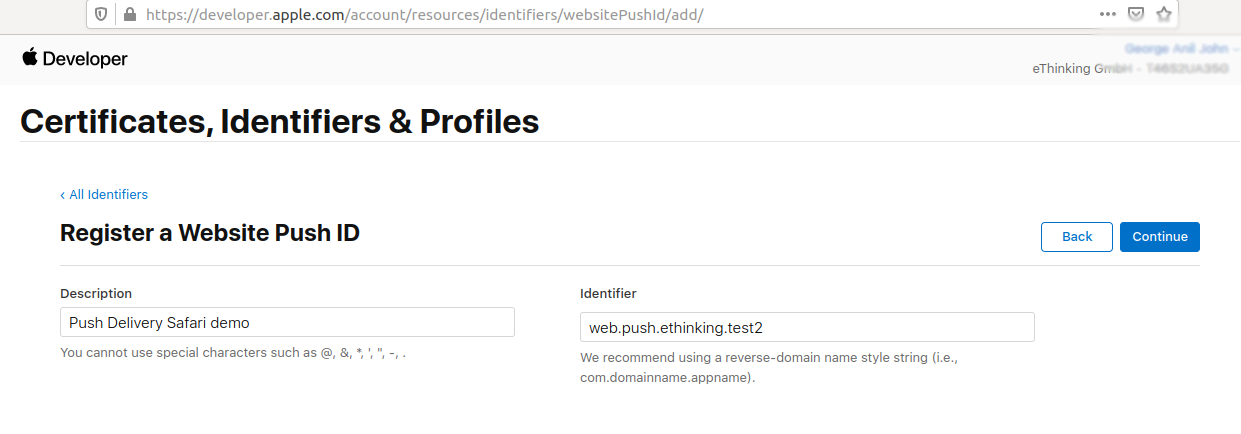
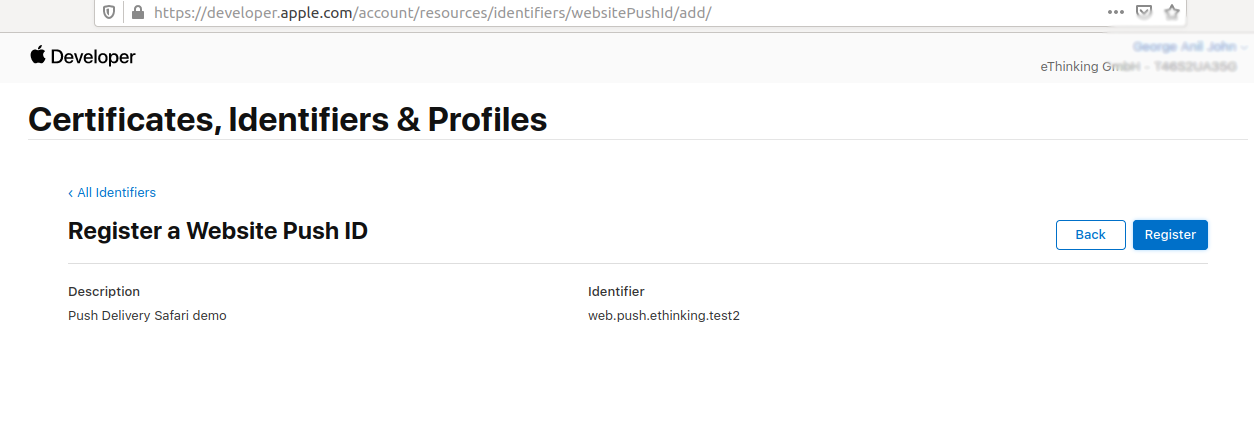
Fill in the Description field and give your ID a unique identifier. Select the Continue button
-
Double check your name and identifier then register your Website Push ID.
-
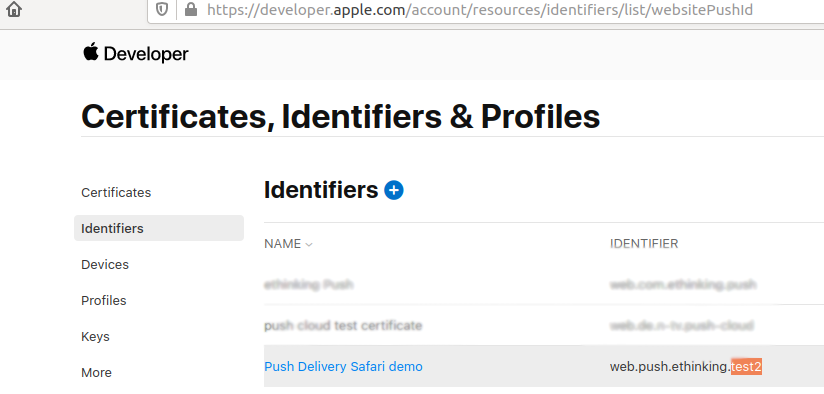
Select your newly made Safari Website Push ID.
-
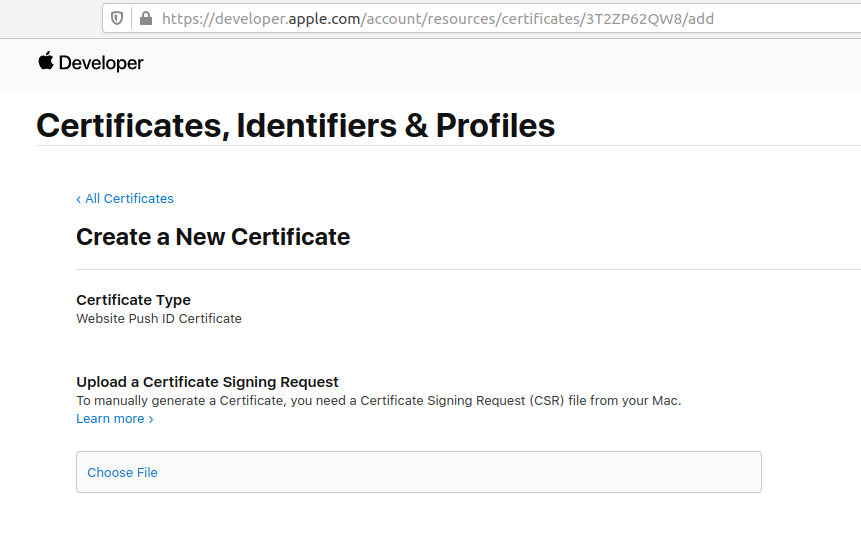
Create a new Production Certificate.

-
Select Choose File to upload your Certificate Signing Request (CSR) file if you have it saved locally. Otherwise select Learn more > for instructions on how to generate one.
-
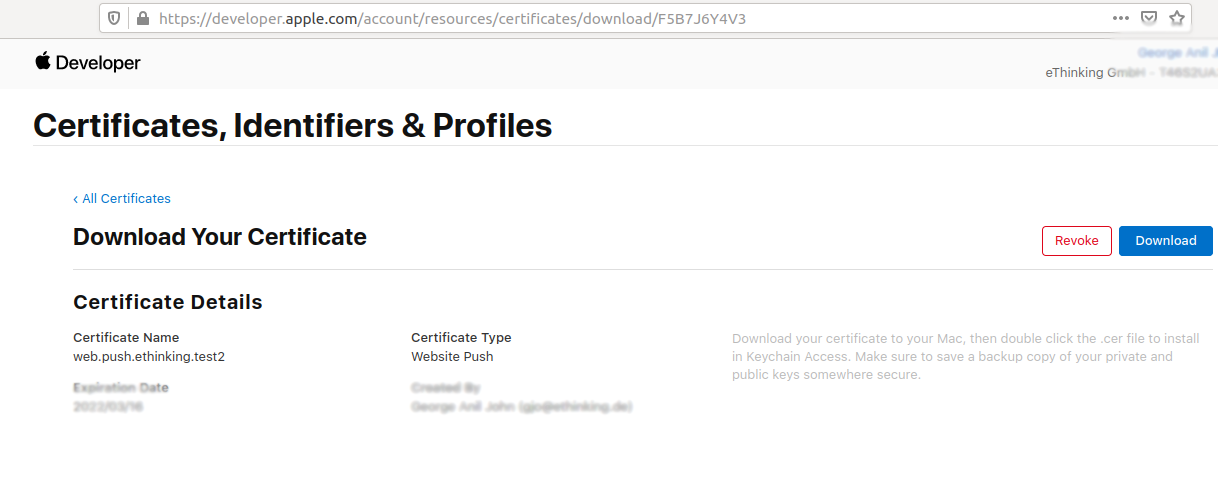
Download your new certificate. Double click to add this certificate to your Keychain. Right-click your certificate inside Keychain Access to export to a .p12 file.
-
Add a password to your certificate. You will need to remember this password when you upload the .p12 file to the admin UI
Setup Safari in Admin UI
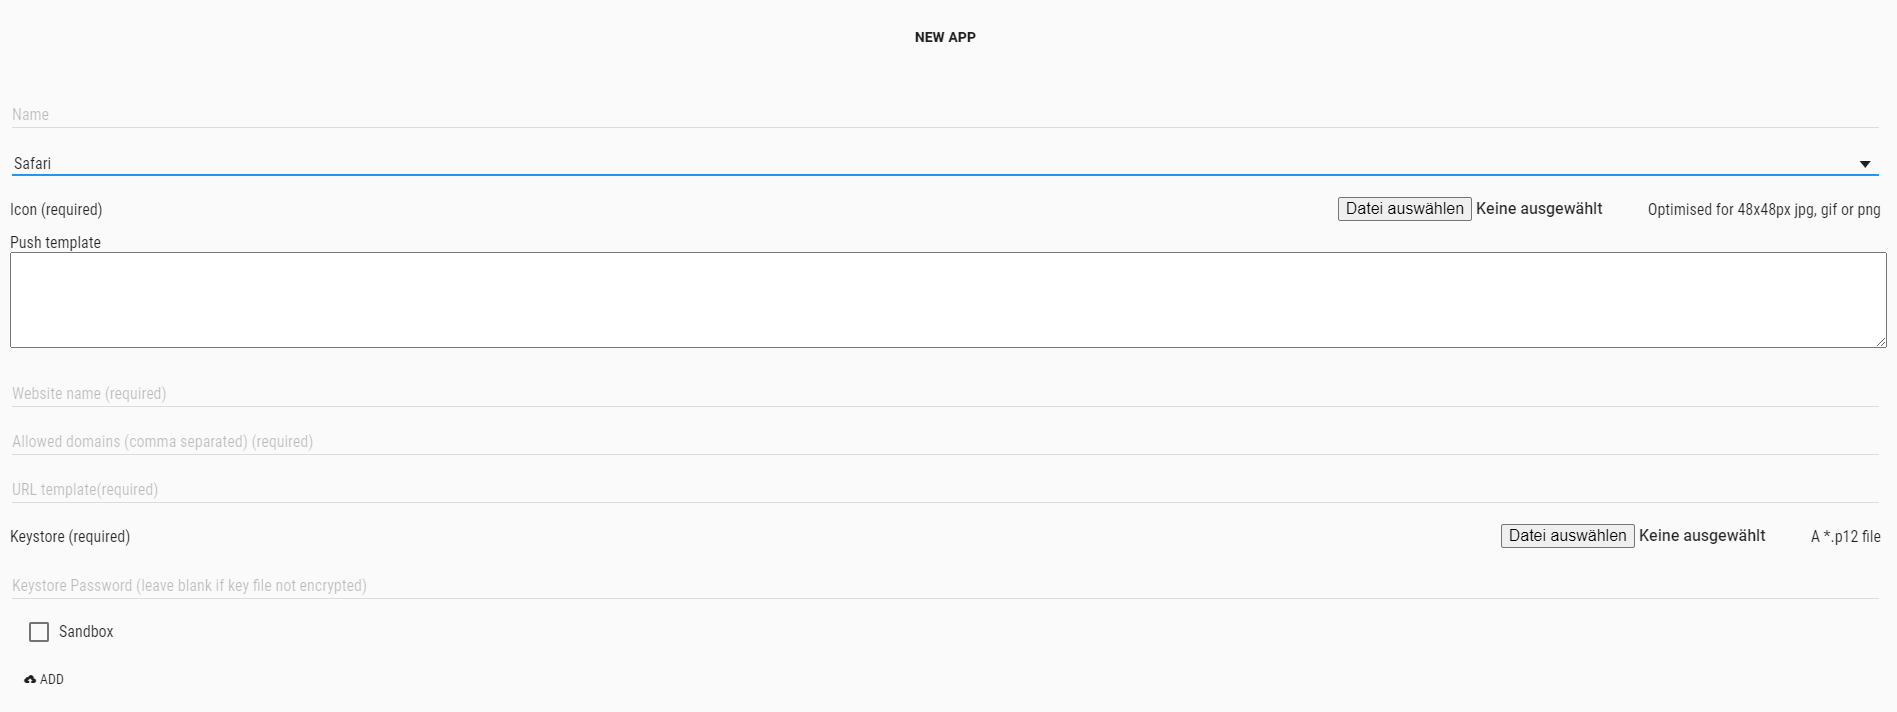
Please go into the "Apps" tab and add a new App.
Give your App a name, e.g. "My Safari App".
Then select the platform "Safari".
Upload an icon for the channel. This is only used inside the Push Admin so that you easier can recognize the channels by image.
Also it is required to use a Push template. This template is used to define the information that will be sent with the Safari Push.
At the end you will be asked for your:
-
Website name (required)
-
Allowed Domains (comma separated, required)
-
URL template (required)
-
Keystore (.p12) certificate
-
Keystore password
After successfully creating the App for Safari the following information will be automatically shown inside the App:
-
ApiUser: This is the API username.
-
Password: This is the password for the API user.
-
AccessToken: Instead of using username and password an Access Token is created.
-
platformId: The platform ID.
-
AppId: The App ID.
After setting up the App now it is time to create Tags that users can register for.
Template and Payloads
Default template:
[
  {
    "operation": "shift",
    "spec": {
      "title": "alertObj.title",
      "message": "alertObj.body",
      "url": "customFields.url-args"
    }
  }

]
Default payload before transformation:
{
  "title": "Default Title",
  "message": "This is the default message",
  "url": "url-argument-value"
}
Default payload after transformation:
{
  "alertObj" : {
    "title" : "Default Title",
    "body" : "This is the default message"
  },
  "customFields" : {
    "url-args" : "url-argument-value"
  }
}
Message Object:
Parameter |
Type |
Description |
Required |
Defaults |
Comments |
title |
String |
title of message |
Required |
- |
|
message |
String |
message text |
Required |
- |
|
url |
String |
A web URL |
Optional |
- |
URL to open when clicking on notification |
| To learn more about how to create and modify JOLT templates please follow up in our developer documentation: push-templates |