Android
Push.Delivery offers the possibility to send push notifications to Android devices over FCM.
For that, it is neccesary to integrate the subscription API with your specific Android App. The the subscription API gives full flexibility for developers to handle the end user tag/topic subscriptions.
Setup Android in Admin UI
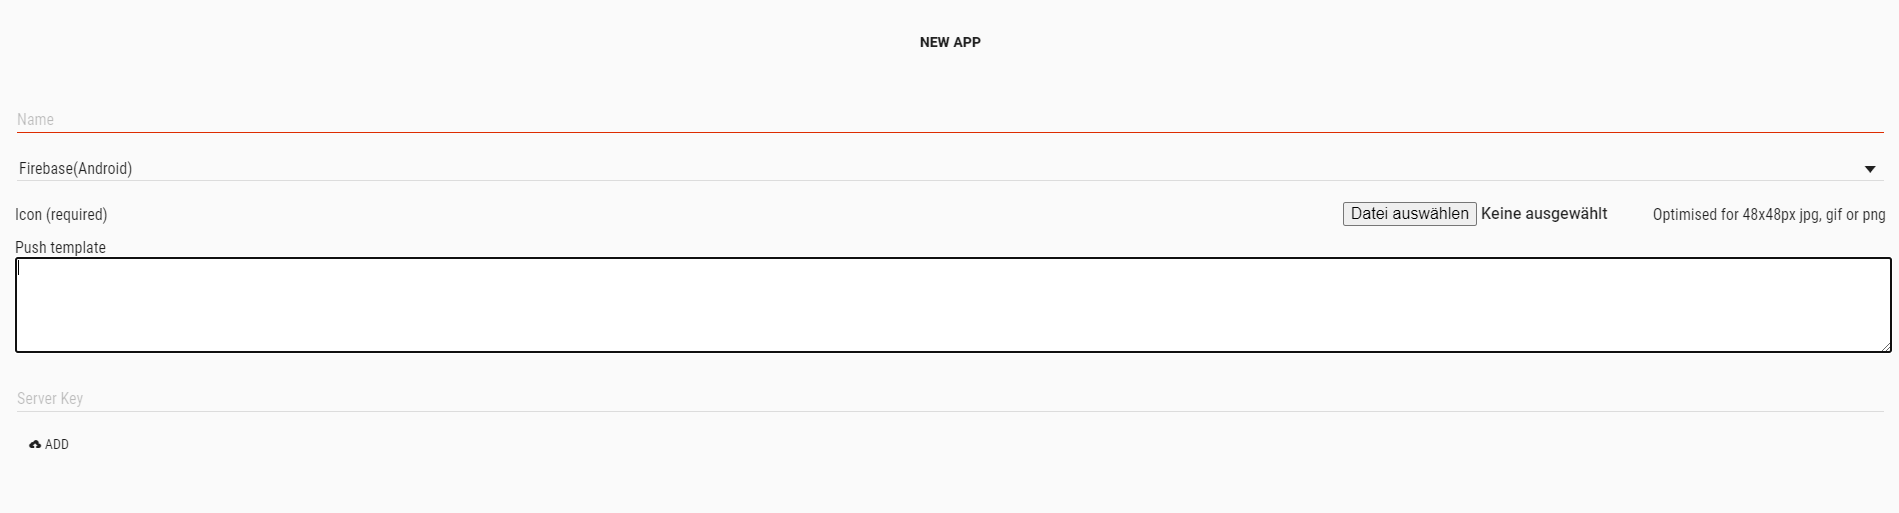
Please go into the "Apps" tab and add a new App.
Give your App a name, e.g. "My Android App".
Then select the platform "Android".
Upload an icon for the channel. This is only used inside the Push Admin so that you easier can recognize your created channels by image.
Also it is required to use a Push template. This template is used to define the information that will be send with the Android Push.
You can use this default template and modify it to your individual needs:
[
  {
    "collapseKey": "123",      (1)
    "delayWhileIdle": "false", (2)
    "timeToLive": "1800",      (3)
    "customFields": {          (4)
        "field1": "value1",
        "field2": "value2",
        "fieldX": "valueX"
    }
  }
]
| 1 | FCM setting collapseKey |
| 2 | FCM setting delayWhileIdle |
| 3 | FCM setting timeToLive |
| 4 | entry point for custom fields |
| To learn more about how to create and modify JOLT templates please follow up in our developer documentation: push-templates |
At the end you will be asked for a Server Key. Here you need to enter your Firebase Server Key that you received when creating a new Web App in Firebase.
Please follow up this document to learn how to get your credentials from Firebase.
After sucessfully creating the App for Android, the following information will be automatically shown inside the App:
-
ApiUser: This is the API username.
-
Password: This is the password for the API user.
-
AccessToken: Instead of using username and password an Acess Token is created.
-
platformId: The platform ID.
-
AppId: The App ID.
After setting up the App, it is time to create Tags that users can register for.